Table of contents
- What does this button do?
- Selecting a new pen hole
- Rotating the gear in place
- Using auto-draw
- Locking the fixed gear
- Rotating the fixed gear
- Using fixed gear "snap points"
- Restoring purchases
- Saving pictures to the gallery
- Where do pictures go when they are saved?
- Fixing mistakes with undo/redo
What does this button do?
If you're unsure what a button does, press and hold on the button to reveal a tooltip:
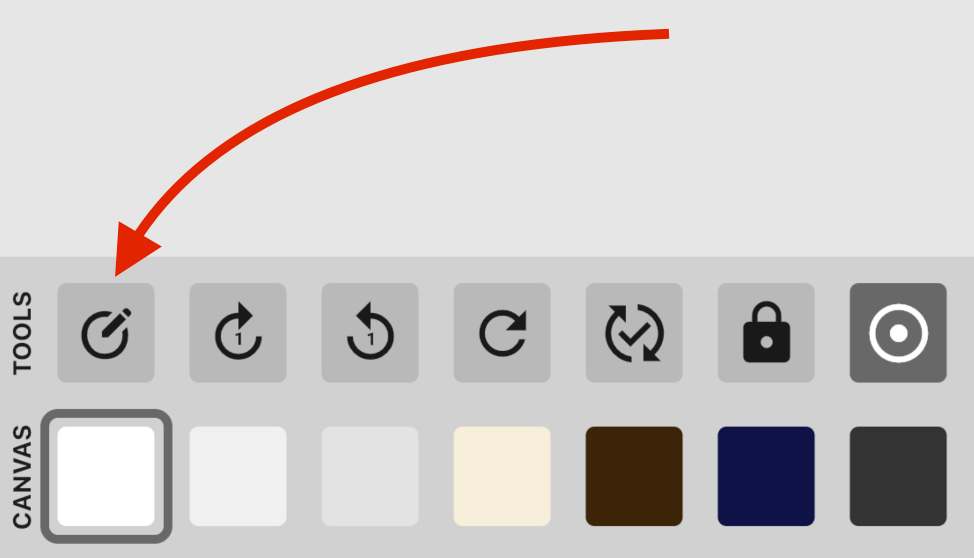
Selecting a new pen hole
You can select a different hole by opening the Tools tab and pressing the first button in the top row. This will zoom in on the rotating gear and allow you to select any of the available holes. Press the button again to zoom back out.
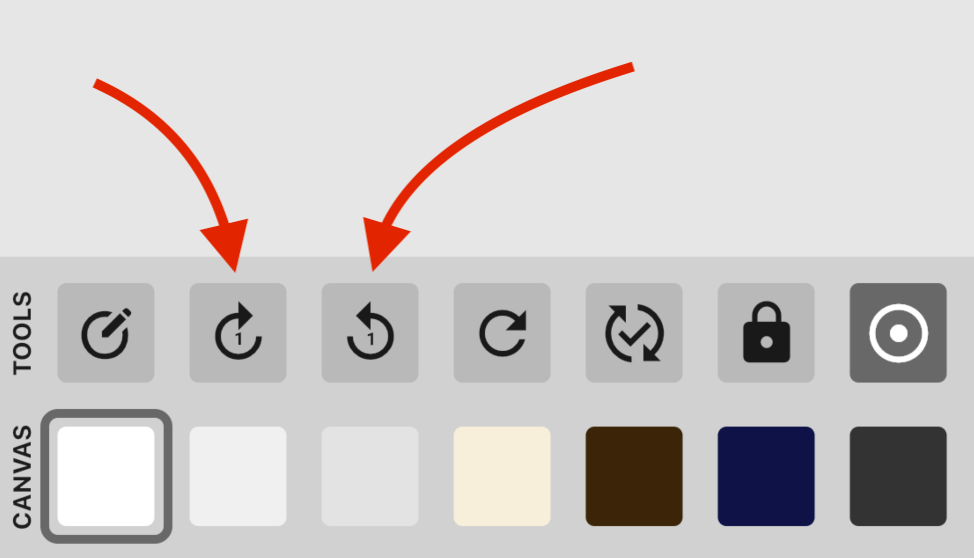
Rotating the gear in place
To draw a pattern multiple times with each pattern offset by a single tooth, press the second or third buttons in the Tools tab. These buttons rotate the gear in place by a single tooth, without drawing any lines.
Using auto-draw
Instead of dragging the gear yourself, you can let Inspiral do the hard work for you! The fourth button in the Tools tab will spin the rotating gear one full rotation (360°). The fifth button will spin until a complete pattern is drawn and the pen is back in its original position.
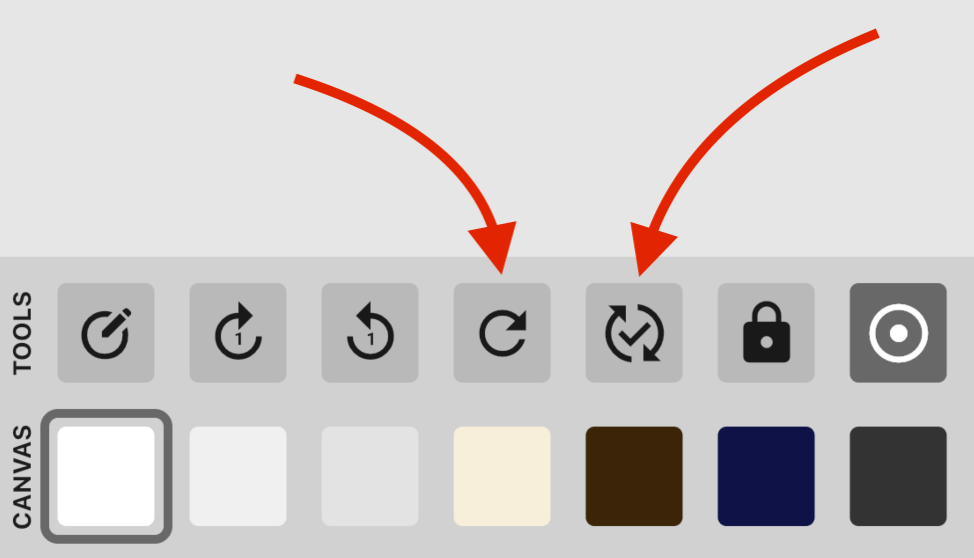
To make auto-draw faster, open the Additional options sidebar and set the Auto-draw speed setting to "Fast".
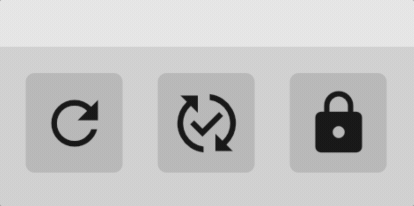
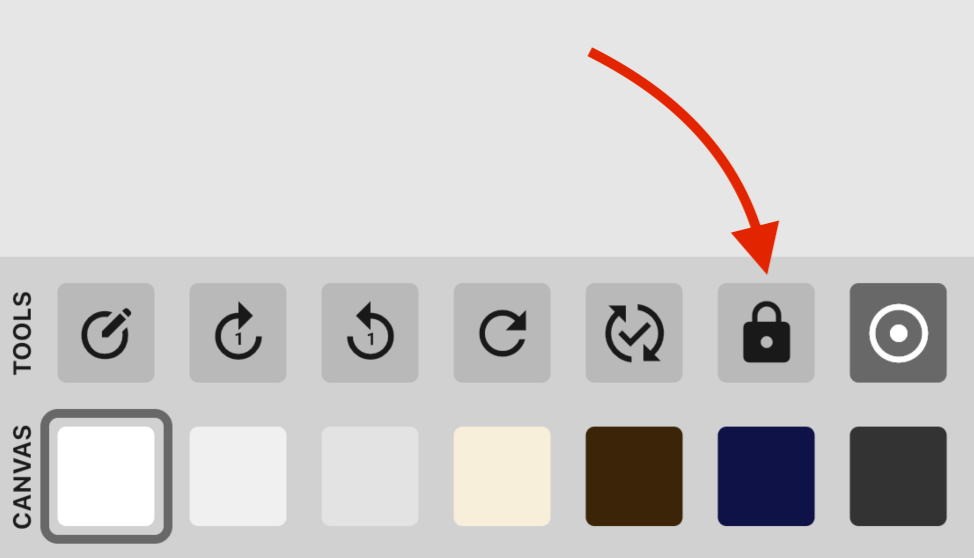
Locking the fixed gear
To avoid accidentally moving the fixed gear, press the button with the lock icon in the Tools tab. This will lock the fixed gear in place, and you will no longer be able to move or rotate it. To unlock the gear, press the button again.
Rotating the fixed gear
The fixed gear can be rotated using a two-finger gesture. Note that both fingers must be touching the fixed gear. For small gears, it may help to zoom in on the gear before attempting to rotate it.
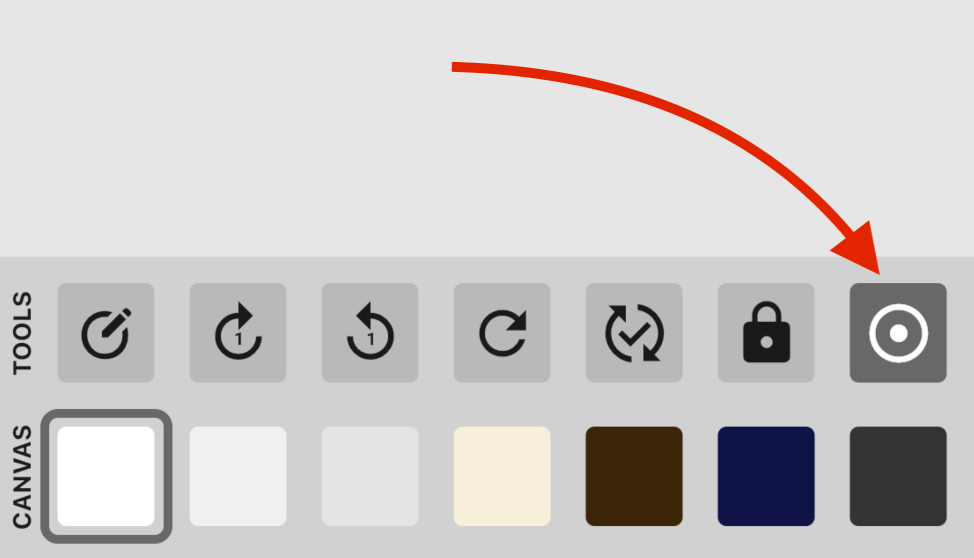
Using fixed gear "snap points"Introduced in version 1.1.0v1.1.0
When you begin moving the rotating gear, a small blue "snap point" is added to the canvas.

While moving the fixed gear around the canvas, the fixed gear will "snap" to these points to allow for perfect alignment with previous drawings.
To turn snap points on or off, press the final button in the Tools tab.
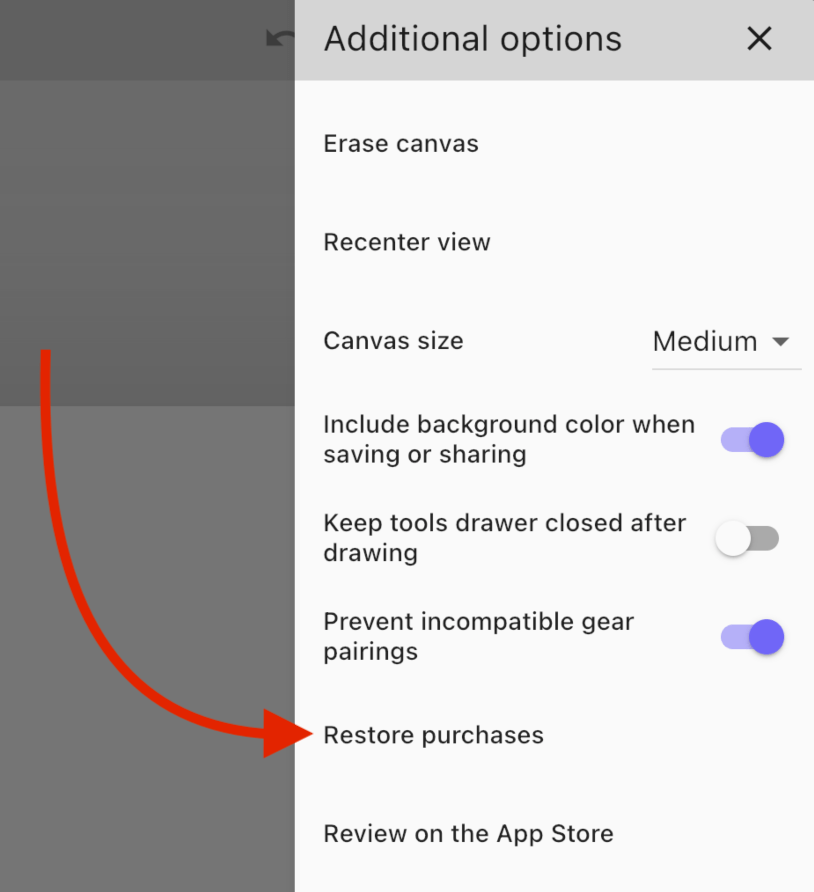
Restoring purchases
If you purchase premium features and then uninstall/reinstall the app - or if you install the app on a second device - you will need to click the Restore purchases button in the Additional options sidebar in order to unlock the features you have purchased.
Please note that purchases cannot be shared across platforms. If you purchase the item on an iOS device, the item will not be available on Android devices, and vice-versa.
Saving pictures to the gallery
To save your masterpiece, click the Save icon in the menu bar.
This will open a screen that will allow you to crop and/or rotate your picture.
On iOS, press the Done button to save your picture.
On Android, press the checkmark icon to save your picture.
Where do pictures go when they are saved?
On iOS, pictures are saved to the Photos app.
On Android, pictures are saved to a "Pictures" folder on your device. If you are using Google Photos, this folder can be accessed on the Photos on device screen.
Fixing mistakes with undo/redoIntroduced in version 1.2.1v1.2.1
If you make a mistake, don't worry! Press the undo button in the menu bar to step backwards in time:
If you change your mind, use the redo button to step forwards in time. On large screens, this option can be found next to the undo button in the menu bar. On small screens, this option can be found in the Additional options sidebar.
Undo and redo only affect certain features:
- Drawn lines
- Gear selections and positions
- Pen hole, color, and style
- Canvas color
- Snap points